Frances Ng
Frances with an "e"
Road to a short #4: Stop Motion
Blog.
blender
stop motion
animated short
April 2022
Stop motion animation is always a joy to watch. The handcrafted element with that rawness makes you imagine the world differently. Traditionally, each frame is made with actual objects in the real world and orchestrating the incremental movement of objects makes the motions connect. It is much more straightforward to create stop motion digitally, and it is almost like intentionally making something high fidelity into low-fi by tricks. These tricks include
- lowering the frame per section
- constant interpolation (no smoothing, just manipulating by the spacing)
- animating the texture of the objects to make them more abrupt
- with a combination of cyclic animation
After experimenting with the stop motion part I found this low fps style might work along with something 2d. A style that I have been trying to figure out how and when to put in an animation. In the movie "The Mitchells vs The Machines", Katie-Vision brings in the out of perspective in the same frame, and they are cute. To do this, Grease pencil was the perfect tool to do both 2d hand-drawn objects.

Some notes:
Main object animation
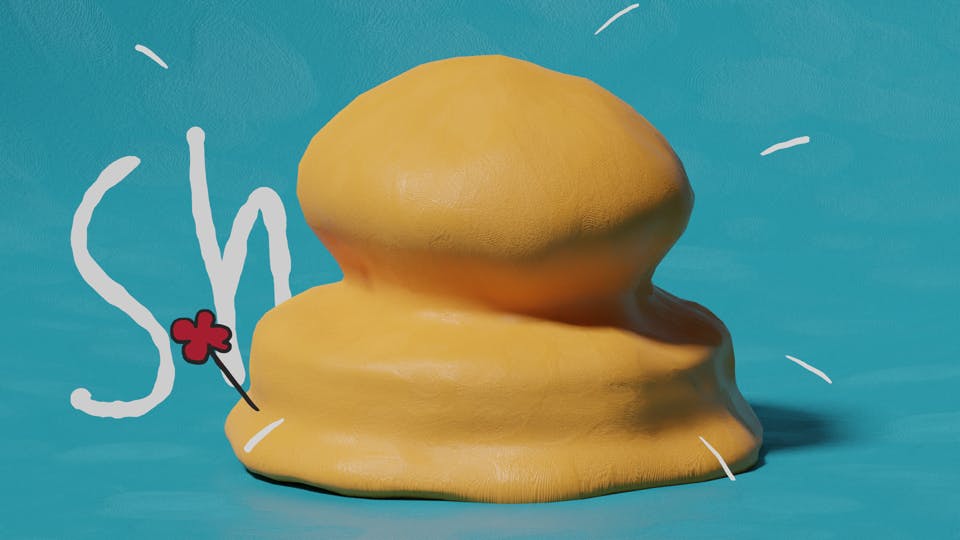
The main object is a UV sphere basically. The object sort of drops from the mid-air and change shapes along, the motions are mostly achieved by shape keys. There are 3 main shape keys: elongated shape, flattened shape, and inflated shape. The best thing about shape keys is that they can be combined effects. For example, the dropped-flat part is a combination of the flattened shape + inflated shape. This is an alternative way to animate "object" instead of rigging + weight paint. For a simple object like this, it seems overkill to do rigging.
Clay Texture
Thanks to the amazing tutorial by SouthernShotty!!! Can you believe that the texture is in fact a fingerprint image? and doing some cyclic animation with the rotation of the texture coordinate gives this noise to the clay so it looks less perfect. (The key to this is really to make everything noisy, and rough). The background blue is of the same texture, and tried to make the ground less "flat" with geometry node (set position with noise). They turned out to be great with each other...
Grease pencil animation
Of course, doing frame by frame is always a solution, but reckon Blender has more to offer and it is always more fun to experiment digitally. Have been trying to figure out the modifiers of grease pencil in how to use them (lol) and this time I used "Build modifier" mainly. Basically, it is a modifier that can be applied to a specific grease pencil layer, so that the grease pencil layer (points) can be interpolated and be built within a specific time frame range. For example, drawing a "curve" line with about 10 points in them and you tell blender to "build" them from frame 0 to frame 10, you will get a "drawn" line (from length of 1 to length of 100) in 10 steps.
In a grease pencil layer, you can add to every single frame. With the build modifier, if new points are added to later frames, the earlier points will be scrapped. So if to retain earlier frames' points with more build effects, new points must be added to a new layer. If every single point is added to the same layer at different frames, the latter will always take precedent after the build.
This end result puts a grin on my face :laugh:
Latest